My Blinkie

Tuesday, December 19, 2017

This beautiful kit come in tagger size and full size
It has
119 elements
20 papers
You can buy this and all her products in these fine stores
Here is what I made with this cute and awesome kit


Thanks for looking 😉


This awesome kit has
54 elements
15 papers
Awesome for all your New Years tags
You can buy this and all her products at
This is what I made with this awesome and beautiful kit


Thanks for taking look 😇

This beautiful kit has
40 elements
10 papers
Good for all your New Year tags
You can buy this and all her products at
This is what I made with this awesome kit


Thanks for taking a look 😏
Thursday, December 14, 2017

This beautiful kit has:
123 elements
18 papers
You can find this kit and all her products
Here is what I made with this beautiful kit


Thanks For Looking 😉

This beautiful kit has:
123 elements
20 papers
You can find this and all her products
Here is what I made with this awesome kit!!

Thanks For Looking 😉
Tuesday, December 12, 2017

This tut was written for those with a basic knowledge of psp
Supplies Needed
I used PSP9 ...but any of them should work.
PTU Scrap kit "ScrapCrys_IB-MarylineCazenave-67-2" by Creative Scraps by Crys

You can buy this kit at CDO HERE:
PTU Tube from Maryline Cazenave 67-2

you can buy this tube at CDO Here:
Mask: Kristin TD Winter Mask 03 2015
~Filters~
Xero-Porcelain
Xero-Softmood
~Drop Shadow~
1-1-40-8-Black
~Font~
Merry Christmas
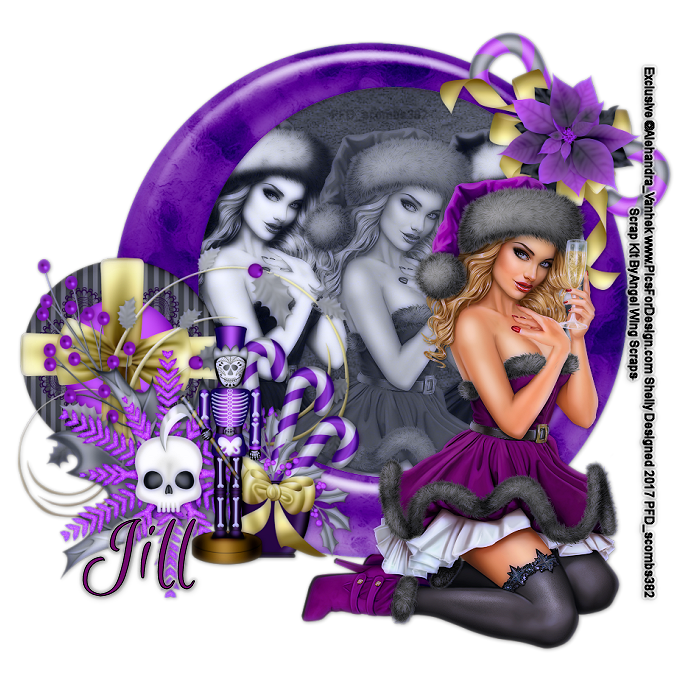
I always start at the bottom of my tag and work my way up.
Use my tag as a guide for element placement.
So let's get started
1. New image 950 x 950 with transparent checked
2. Open paper 1 copy and paste to canvas
layers - new mask layer - from image - select mask Kristin TD Winter Mask 03 - Merge group.
Effects -Xero Softmood - I used the settings my plug in was set at.
3. On to our elements! Remember to use my tags as reference or do your own thing!
**Scatter 2 - Open and re size 80% Paste to canvas layer - Duplicate - Image - Mirror. Adjust to center left and right of tag. center should touch or almost touch. Merge down
**Open your tube copy and paste no re size needed if using the same tube. Apply effects porcelain -
I used the settings my plug in was set at.
**Scatter- open - re size 77% - paste to canvas - layer -duplicate - image - mirror.
Adjusting the scatter to lower part of tag.
**Snow- copy and paste to canvas. Rotate 90% free to the right. Duplicate - image - mirror.
Place to your liking
**Lights- copy and paste down where you placed your scatter
**Ornaments- Open - re size 69% - Paste on tag in front of the cup.
**Branch- Copy - paste - Layer - duplicate - Image - mirror
placing on both side of tag.
**Poinsettia- open - re size 60% - copy and paste - Layer - duplicate - image - mirror.
placing side by side.
**Poinsettia 2- Open - re size 60% - paste to the center of the red poinsettias.
**Word art- copy and paste to your tag. Place centered of your poinsettia.
4. Now be sure to drop shadow all your elements except for the mask/paper layer.
5. Be sure to adjust everything to your liking.
6. Merge visible layers - Re size to you liking - Add your copyright and save as png.
For the name on the tag I used Merry Christmas flakes
font size 72 stoke 1.0
Colors #f7f1f0 foreground & #b90f16 background.
Apply effects drop shadow at my settings above.
I hope you like my tut! Please feel free to send me your version I would love to see them. Any questions please email me with what tut at shellywoodruffcombs@gmail.com
Subscribe to:
Posts
(Atom)
Forums


My CU Licenses